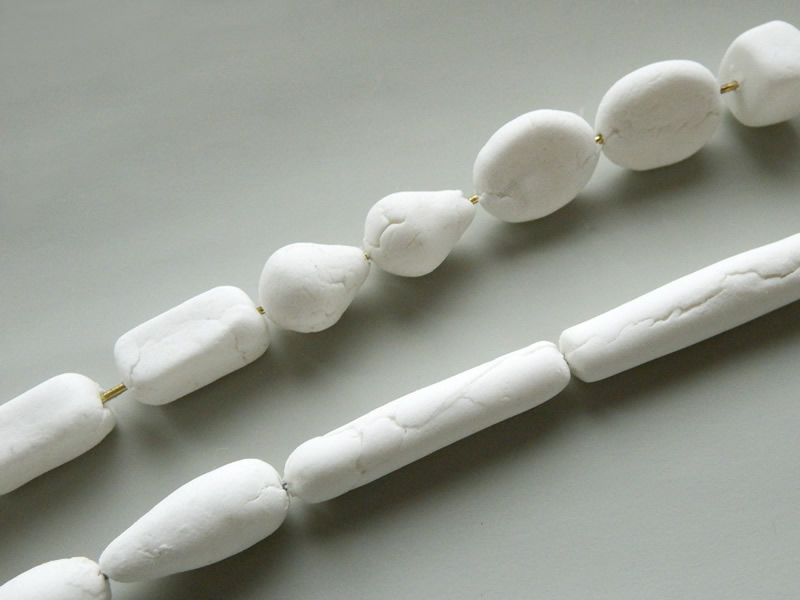
After crossing paper off the list as a useful hollow bead core material, and realizing there was a crucial piece missing from an option I had come across earlier, it was time to take a second look at cornstarch as a contender.
I found a recipe for the traditional cornstarch and baking soda “play clay” of childhood. I remembered it as being heavy and cracking a lot when trying to make Christmas ornaments years ago. With any luck, neither of those factors should be an issue for this purpose.
What I’m looking for in my dream bead core is the ability to dissolve quickly and easily, so the bead won’t take forever to transform from filled to hollow.
Cooking up the recipe for cornstarch and baking soda clay
I found the play clay recipe and cut it in half. It makes 10-15 pairs of beads, depending on the size of the bead. (Given the results with paper, I thought that was optimistic of me.)
Ingredients:
1/2 cup cornstarch (corn flour)
1 cup baking soda
3/4 cup water
Directions:
– Mix all of the ingredients together in a saucepan
– Using medium-low heat, stir constantly until it’s the consistency of mashed potato
– Place in a covered dish to cool.
Making the bead cores
Workability
The mixture has a nice, smooth consistency, but I patted it with paper towels to remove excess water. It needed to be firm for the beads to keep their shape. In the future, I would try 1/2 cup of water in the recipe.
Once it was more workable, the clay was easy to shape. There’s a salty residue, that forms on your hands and the bead drying wires, so it needs to be cleaned off frequently (and why there aren’t photos of this part).
Piercing
To pierce beads cleanly, the clay needs to dry out some (but not completely) first. If the surface starts to get that salty crust, it’s a bit late. Luckily, you can revive it easily with a touch of water.
Wet the piercing tool and move in a slow, gentle twisting direction as you go to help create a smoother opening.
Drying
Just as I remembered, this clay cracks as it dries. Thankfully, that can be repaired somewhat by dampening it. The same goes for the ends that may get damaged when you try to pierce the core. There’s also sandpaper, but a slightly damp sponge should work just as well.
When the outside is crusty, the inside can still be loose and soft. Patience and leaving the cores undisturbed will help keep you from distorting them by handling too soon.
Left overnight, the beads dry and become very hard. They might dry with fewer cracks, but more slowly, if covered or placed in a plastic bag, as with pottery clay.
Shrinking
One recipe noted that you could expect about 30% shrinkage as the play clay dries. That’s a blessing in disguise, since it’s easy to make the cores too large, not accounting for the extra size the polymer clay adds.
Dissolvability (it is a word… now)
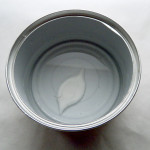
Before I went too crazy with the bead forming, I wanted to test the hardened play clay to make sure it would dissolve without a lot of time and effort.
It sat in water for an hour or two, and by the time I checked it, the dissolving had begun, without any encouragement (fussing) from me.
When I touched it, the water clouded even more and the surface felt very soft. We have liftoff!
Wrapping the polymer clay around the core
Like the paper cores, the cornstarch/baking soda ones resisted the polymer clay and did that ballooning trick a bit. It wasn’t as pronounced or as frustrating as with the paper cores, though.
Baking
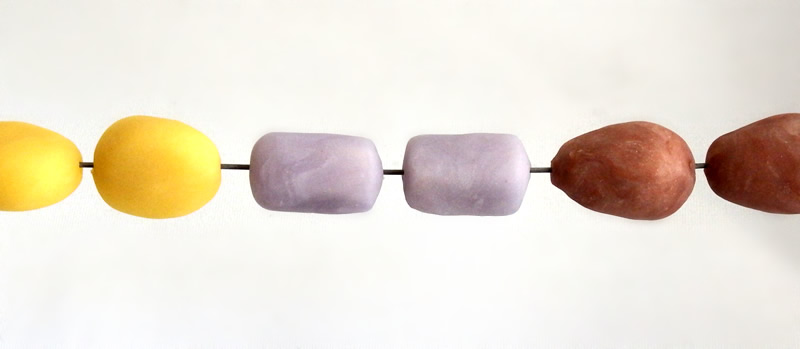
The beads were part of a larger batch that all baked at 275ºF/135ºC. I checked the hollow ones at 15 minutes and left them in for a total of 20 minutes.
Hollowing
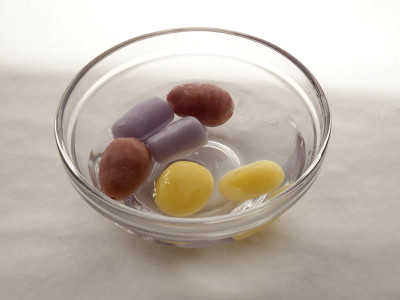
These cores dissolved a lot more easily than the paper ones.
They sat in a bowl of water for a while (maybe an hour). Then the poking and prodding began.
The pottery needle tool helped move the process along, but it took all kinds of gyrations to finally clear it out. I twirled and pushed the core around; helped water bubble back inside and shook it out; sometimes blew it out, like an egg (mmm, salty). This all happened in short bursts over the course of a few days. Once again, no magically dissolving core. It wasn’t difficult, but was time-consuming.
These beads are sturdier than the ones from paper cores and didn’t suffer any breakage around the openings, so that’s a plus.
Lessons learned
There’s no wonder core (that I’ve found yet)
Making a hollow bead around anything will take some extra effort. This clay works fairly well, is inexpensive and made with common household (edible) products.
Save it for larger beads in light colors
It probably doesn’t make sense to make hollow beads with darker colors of translucent polymer clay. The translucent effect is barely noticeable.
That said, I know that other brands of polymer clay are said to be more translucent than Sculpey III, so I may have to take that back.
More options for core material to eliminate
Oatmeal
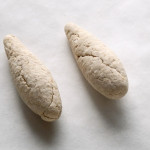
I had some ground oatmeal that I’ve used for soapmaking and facial cleanser and thought “It’s sticky and dries hard enough on a bowl. Maybe this will work.” (That’s how all the harebrained schemes begin.)
Oatmeal and just enough water to make a pliable dough works up well, but cracks quite a bit as it dries. It also breaks when you try to pierce it, even when still partially damp.
Off the list. Time to go back to being just a comforting winter breakfast food, skin soother and chunky cookie ingredient.
Joint compound
This would probably work very well. It’s workable and smooth. Dries hard. Dissolves with water. All wonderful qualities.
Since the cornstarch seems like it’ll work about the same way, but you could eat it (if you were forced to) and joint compound is essentially plaster and glue, the cornstarch should be a lot better for your drain when dissolving time rolls around.
You could dissolve it into a bucket and let it dry up eventually to dispose of it, but why add the extra hassle and hazard?
[Indirectly related helpful painting hint: If you use it to patch walls for painting, don’t sand it. Use a slightly damp sponge as if it were sandpaper. No dust to breathe. One of the most useful things I’ve ever discovered.]
Next on the agenda…
There’s still the liquid translucent polymer clay route to explore. There are some leftover cornstarch/baking soda cores just waiting for it.
How about making some actual jewelry from the beads? There’s a thought.