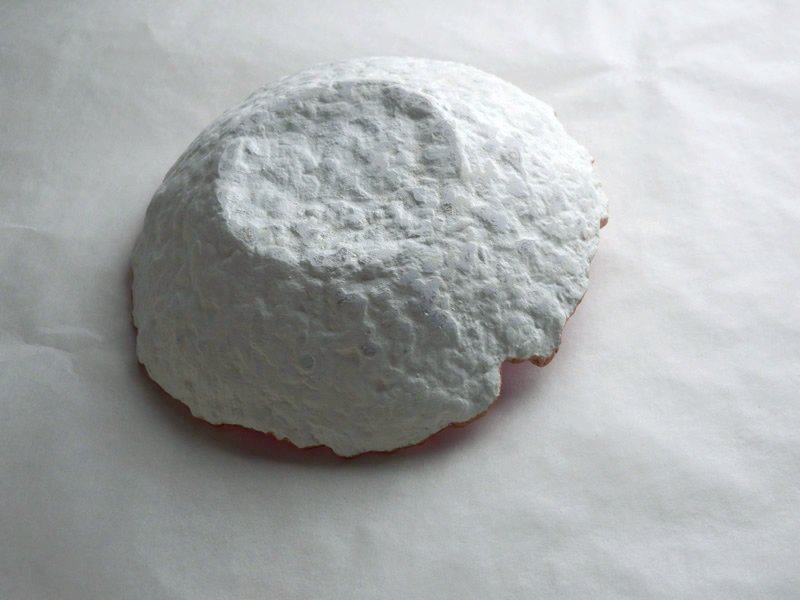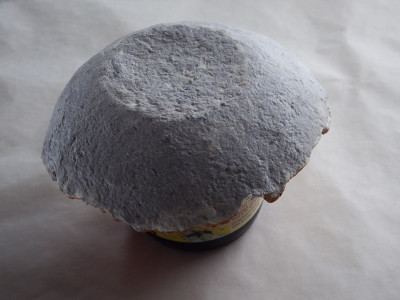
Cast paper can be pretty lumpy, depending on the type of paper you use and how well you “puree” it. The papier maché clay recipe I altered for my bowls makes a smooth, sandable, easy to apply patch material to fill in the ruts.
I recently used it on a couple of different bowls – one made from cast paper and one made from the same maché clay.
Cast Paper Bowl Surface Finishing
The bowl in the photo above has been around for awhile. I love the finish on the other side, but the craters on the outside didn’t seem to “go” with it.
I sanded and sanded with a multi-function tool and only got so far. The results weren’t very satisfying after a lot of work.
Enter maché clay…

In the photo, the bottom is left undone, so you can see the difference in the surface texture.
You just spackle the clay on, smooth until it’s the way you like and let it sit to dry.
If this wasn’t covered in gesso, it would dry even faster. The first layer of paper absorbs some of the moisture.
That’s a blessing and a curse, but more about that later.

When it’s dry, it’s much smoother than before. It’s also a lot sturdier and still very lightweight.
More sanding takes it even further (and brings out that delicious baby oil scent).
All that’s left is sanding, decorating and a finishing sealer.
This material takes acrylic paint and varnishes beautifully. Sometime soon, I’ll be experimenting with alcohol inks on it.
There are some slight differences when patching objects made from papier maché clay, but the process is essentially the same.